On this page we provide instructions and hints for the two ways to set up a VPN access under macOS.
There are two ways to establish a VPN connection with macOS. Our recommendation is to configure the access with system resources by installing a profile file. This way, the VPN access integrates seamlessly into the system and no further software needs to be installed.
Nevertheless, Cisco's Anyconnect for macOS is also available. The software as well as the installation instructions can be found further down on this page.
VPN access with system resources
- Compatibility: Apple macOS 10.7+ (These instructions are based on macOS 11.3.1 and may differ from other macOS versions in some places).
To use the VPN profile file for the VPN tunnel of the University of Leipzig, the device should be free of older VPN profile files of the University of Leipzig. Therefore, before installation, check under System Settings → Profiles whether such a profile is already installed.
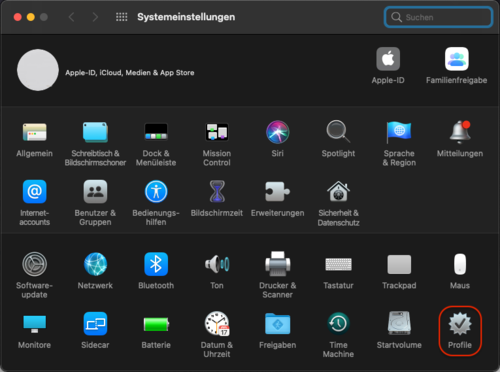
To do this, check whether an entry "Uni Leipzig VPN" already exists in the list on the left-hand side of the window.
-
If no, continue with step 1)
-
If yes, delete this by selecting the corresponding profile
Then click on the minus symbol (bottom left).


To set up the University VPN using system resources (installation of a profile file), the following two options can be selected:
-
Standard profile: All network accesses are sent through the VPN tunnel
- Uni-Netz Profile (University network profile): Only accesses to university networks are sent through the VPN tunnel
Note: We recommend using the standard profile. With the Uni-Netz profile, third-party services may not be sufficiently accessible.
After you have downloaded one of the two profiles, navigate to System Settings → Profiles. Installation of the downloaded profile file should be suggested. Select “Install”.
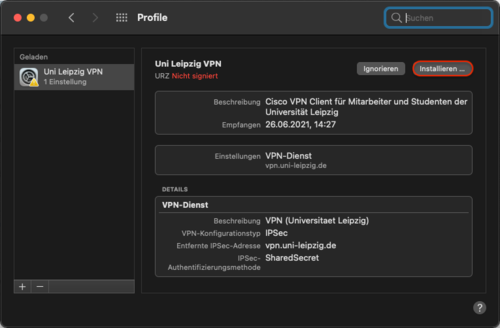
Note: With older macOS versions, the installation of the profile file opens automatically after downloading the profile file. In this case, you can skip the previous step.
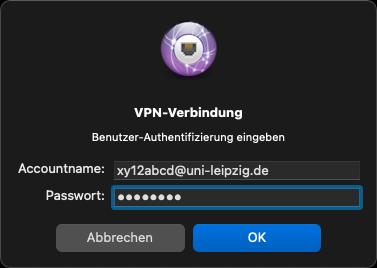
You will then be asked for your access data for the VPN tunnel. Depending on your affiliation to the University of Leipzig, enter your user name as follows.
- For students of the University of Leipzig: <Uni-Login>@studserv.uni-leipzig.de (e.g. xy12abcd@studserv.uni-leipzig.de)
- For employees of the University of Leipzig: <Uni-Login>@uni-leipzig.de (e.g. xy12abcd@uni-leipzig.de)
Also enter your personal password.
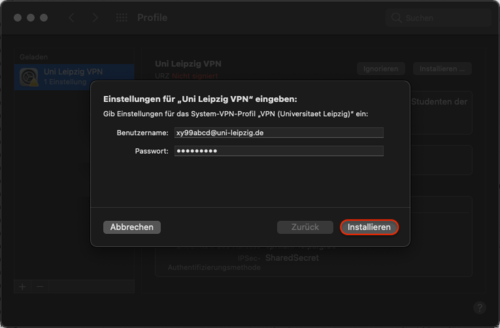
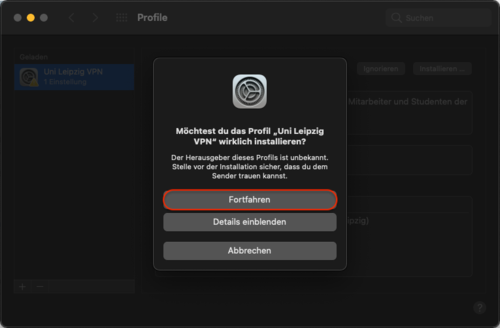
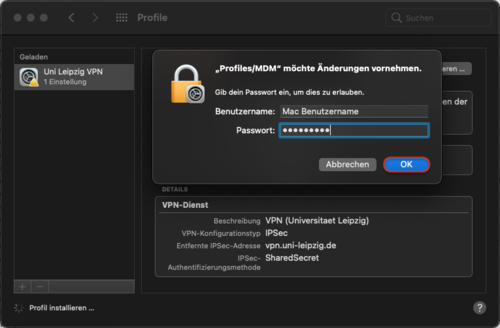
Complete the installation by clicking on “Installieren” (“Install”) and confirm the installation by entering your device password.
Navigate to System Settings → Network. In the list on the left side of the window, there should now be an entry “VPN access Uni Leipzig”. Select it and enter your password in the password line and select “Verbinden” (“Connect”).
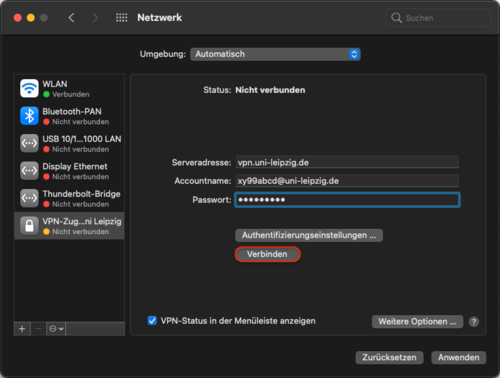
Tipp
By setting the tick “Show VPN status in menu bar”, a short cut appears in the menu bar for setting up the VPN tunnel at the top of the screen for setting up the VPN tunnel.
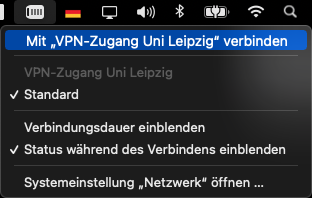
Select Connect with “VPN-Zugang Uni Leipzig” (“VPN access Leipzig University”).
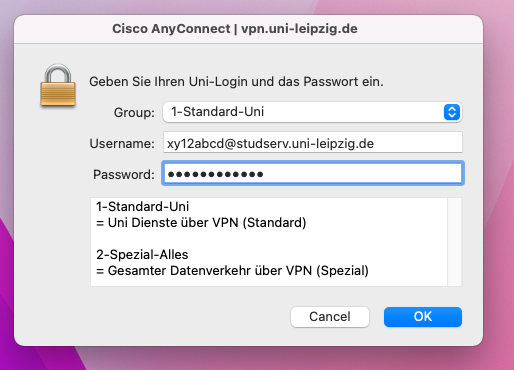
Afterwards, select a profile and authenticate yourself with your personal access data. Depending on your affiliation to Leipzig University, the user name has to be entered as follows.
- For students of Leipzig University: <Uni-Login>@studserv.uni-leipzig.de (e.g. xy12abcd@studserv.uni-leipzig.de)
- For employees of Leipzig University: <Uni-Login>@uni-leipzig.de (e.g. xy12abcd@uni-leipzig.de)
VPN access with the Cisco AnyConnect Client
- Compatibility: macOS 10.14, 10.15 & 11.2+ (This guide is based on macOS 11.3.1 and may differ in places from other macOS versions).
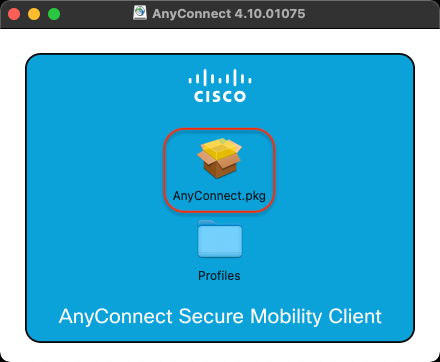
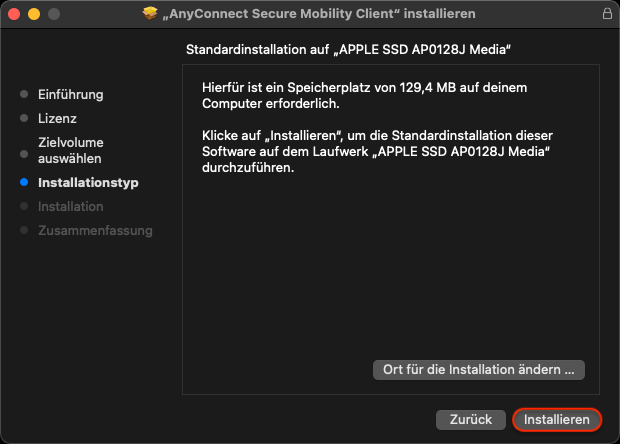
Once the file has been executed, the following view appears. Continue with the installation by double-clicking on the “AnyConnect.pkg” icon.

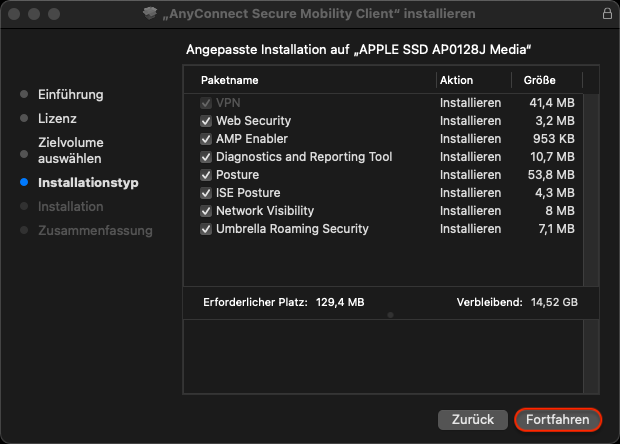
Notes: In order to be able to establish a connection to the VPN tunnel, it is sufficient to only set the first tick (VPN) in the list.
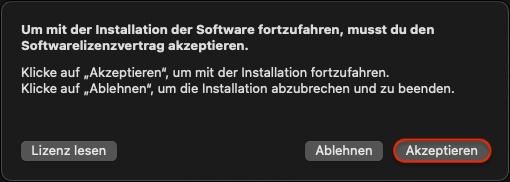
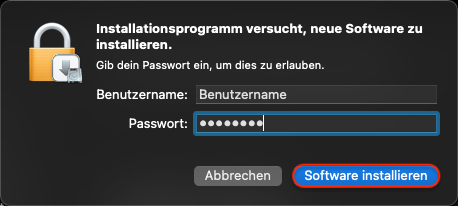
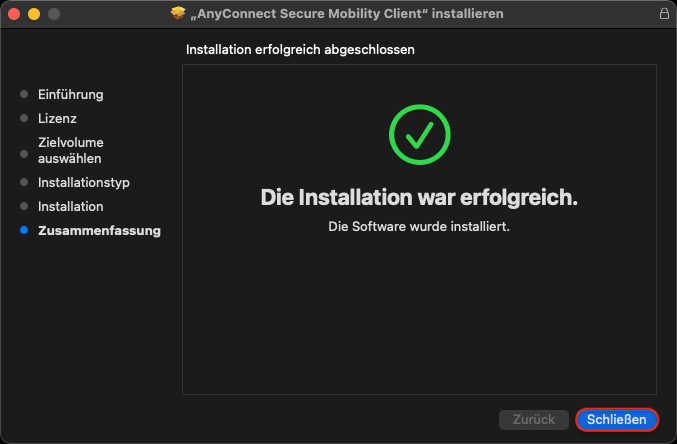
In the following step, you must confirm the execution of the installation with your device password.
After you have successfully installed the Cisco AnyConnect Client, open it (for example, by using the Spotlight search or in the Launchpad). After opening the programme, the following overview should be displayed. In the cell “VPN”, “vpn.uni-leipzig.de” (cf. picture) must be entered for the connection to the VPN tunnel.
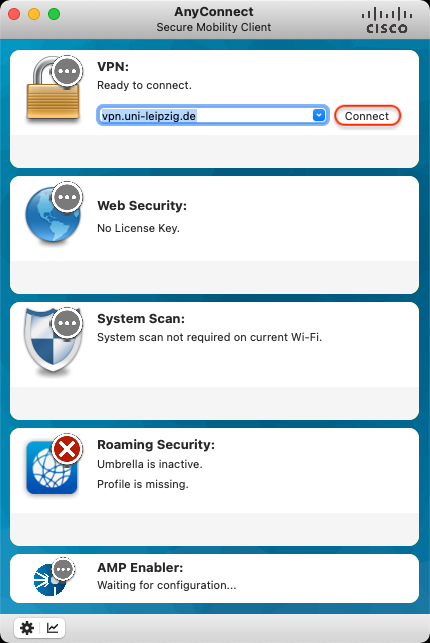
Click "Connect" to establish the connection. Then select a profile and authenticate yourself with your personal access data.
Afterwards, select a profile and authenticate yourself with your personal access data. Depending on your affiliation to Leipzig University, the user name has to be entered as follows.
- For students of Leipzig University: <Uni-Login>@studserv.uni-leipzig.de (e.g. xy12abcd@studserv.uni-leipzig.de)
- For employees of Leipzig University: <Uni-Login>@uni-leipzig.de (e.g. xy12abcd@uni-leipzig.de)
Select "OK" to establish the connection to the VPN tunnel.