On this page we provide instructions and hints for the two ways to set up a VPN access on Apple iOS.
VPN access with system resources
- Compatibility: Apple iOS 5+ (These instructions were created on the basis of Apple iOS 14.6 and may differ from other Apple iOS versions in some places).
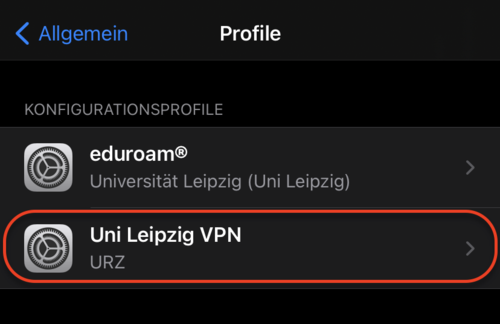
To use the VPN profile file for the VPN tunnel of the University of Leipzig, the device should be free of older VPN profile files of the University of Leipzig. Therefore, before installation, check under Settings → General → Profiles whether such a profile is already installed.

Then click on the button “Remove profile”.
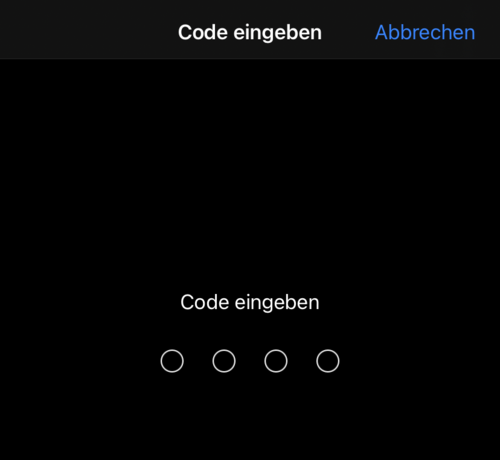
To remove the profile from your device, the device pin must then be entered.
To set up the University VPN using system resources (installation of a profile file), the following two options can be selected:
- Standard-Profil (Standard profile): All network accesses are sent through the VPN tunnel.
- Uni-Netz-Profil (University network profile): Only accesses to university networks are sent through the VPN tunnel.
Note: We recommend using the standard profile. With the Uni-Netz profile, third-party services may not be sufficiently accessible.
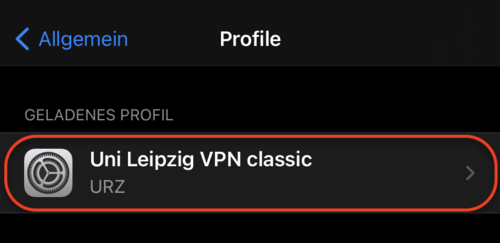
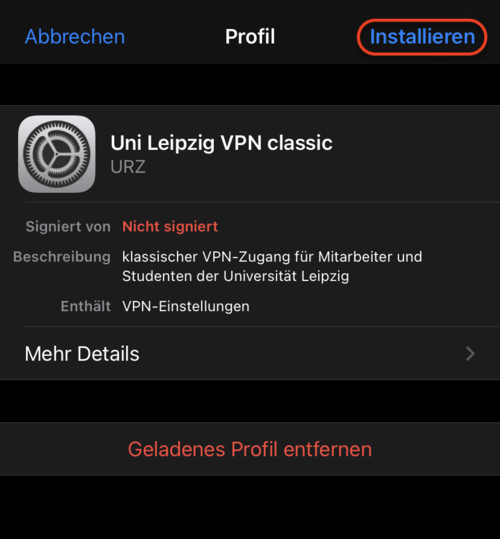
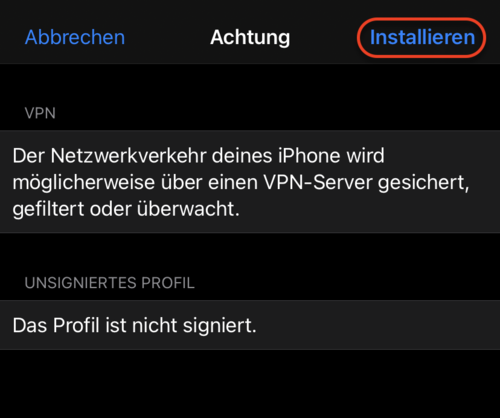
After you have downloaded one of the two profiles, navigate to Settings → General → Profiles. The installation of the downloaded profile file (in the “Geladenes Profil” list) should be suggested. Select the suggested profile.
Note: For older iOS versions, the installation of the profile file opens automatically after downloading the profile file. In this case, you can skip the previous step.
After you have downloaded one of the two profiles, navigate to Settings → General → Profiles. The installation of the downloaded profile file (in the Loaded Profile list) should be suggested. Select the suggested profile.
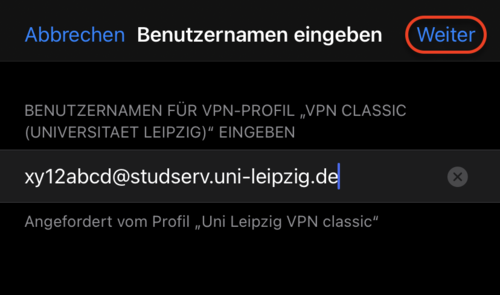
You will then be asked for your access data for the VPN tunnel. Depending on your affiliation to the University of Leipzig, enter your user name as follows and click on “Weiter” (“Next”).
- For students of the University of Leipzig: <Uni-Login>@studserv.uni-leipzig.de (e.g. xy12abcd@studserv.uni-leipzig.de)
For employees of the University of Leipzig: <Uni-Login>@uni-leipzig.de (e.g. xy12abcd@uni-leipzig.de)
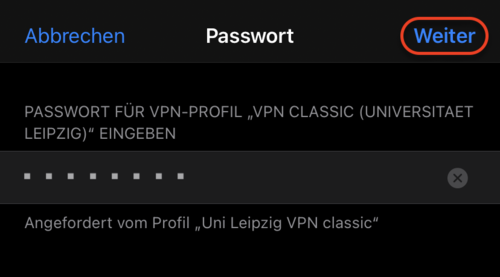
Continue to enter your personal password and select “Next”, which completes the installation of the profile file.

Note: If you get an error message the first time you use the VPN after installation, close settings in your open tasks and start again with the instructions from step 3.
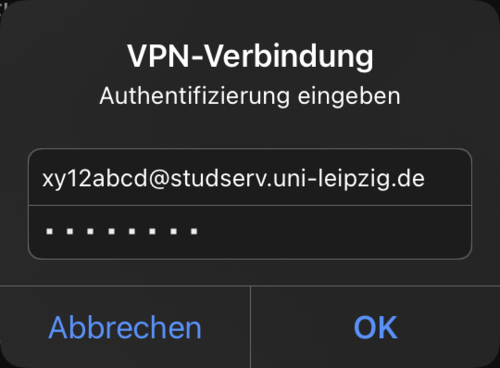
Afterwards, select a profile and authenticate yourself with your personal access data. Depending on your affiliation to Leipzig University, please enter your user name as follows.
- For students of Leipzig University: @studserv.uni-leipzig.de (e.g. xy12abcd(at)studserv.uni-leipzig.de)
- For employees of Leipzig University: @uni-leipzig.de (e.g. xy12abcd(at)uni-leipzig.de)
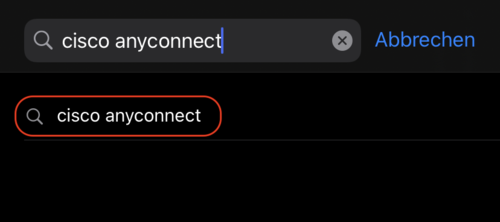
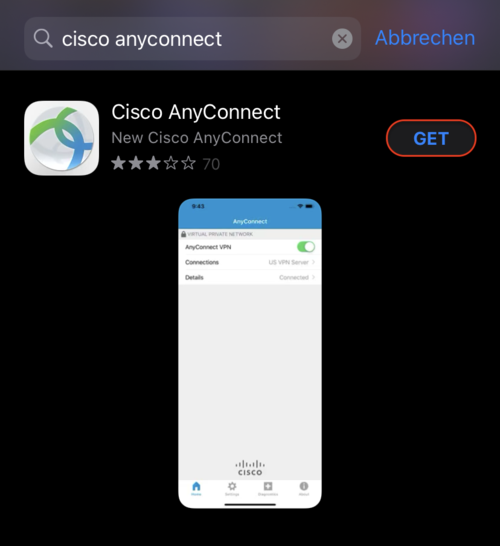
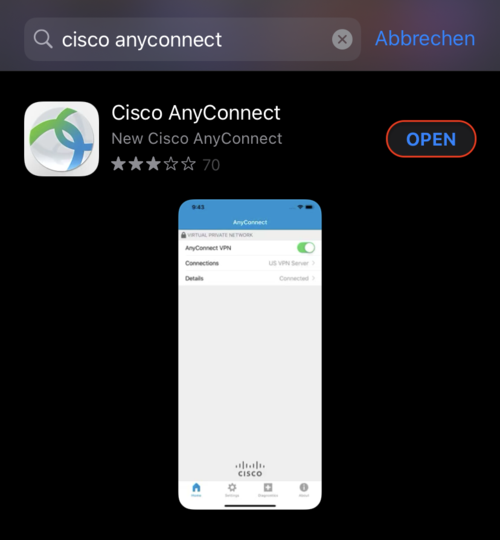
VPN access with the Cisco AnyConnect Client
- Compatibility: Apple iOS 10+ (These instructions were created on the basis of Apple iOS 14.6 and may differ from other Apple iOS versions in some places).
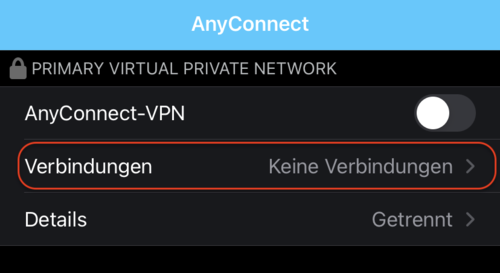
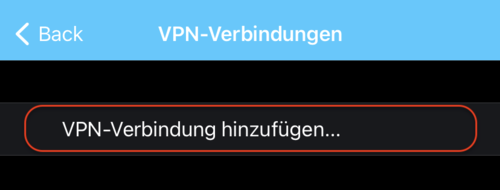
To connect to the VPN tunnel of Leipzig University with the Cisco AnyConnect Client, navigate to “Verbindungen” (“Connections”) in the app.
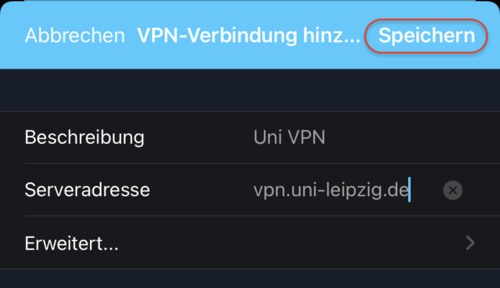
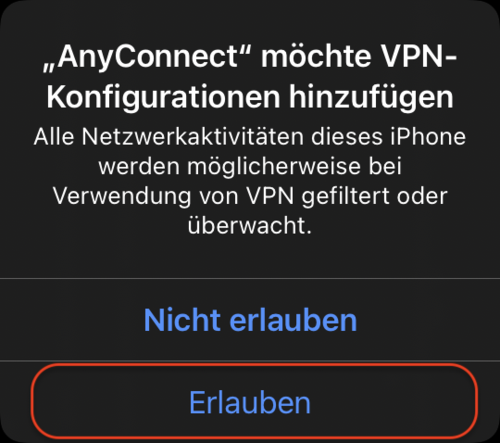
The device then asks for authorisation, which you must confirm with “Allow” in order to establish a VPN connection.
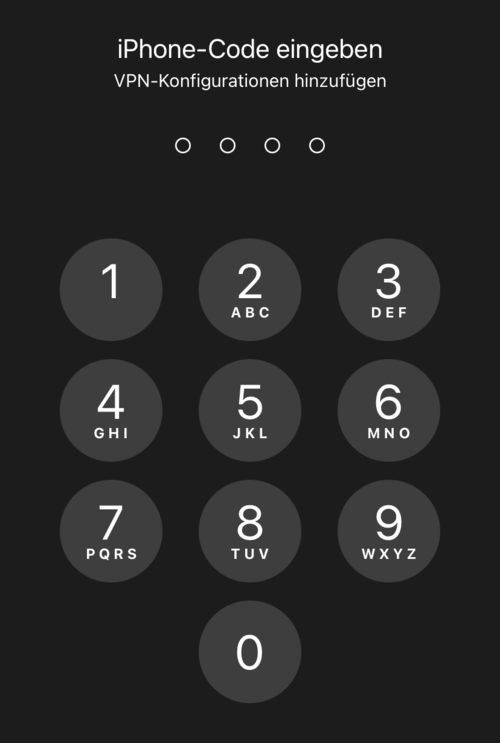
Now confirm the installation by entering your device pin, which completes the configuration of the VPN tunnel of the University of Leipzig with the Cisco AnyConnect Client.
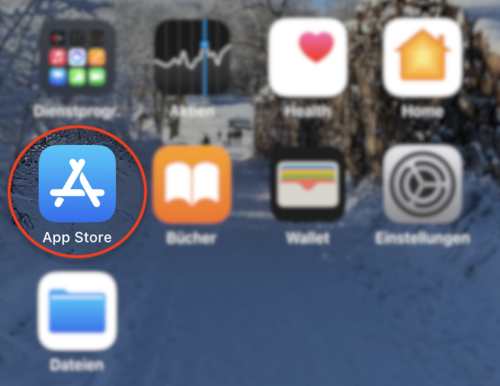
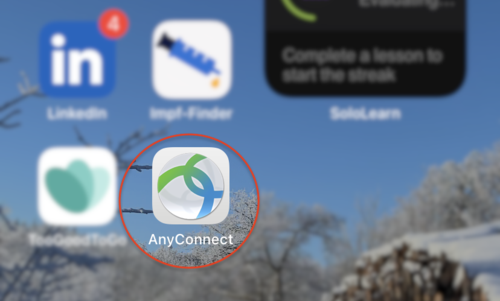
To connect to the VPN tunnel of the University of Leipzig with the Cisco AnyConnect Client, first open the AnyConnect App.
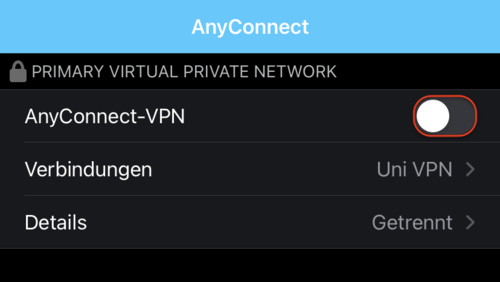
Activate the VPN connection configured in step 2 by clicking on the white sliding button in the line "AnyConnect-VPN".
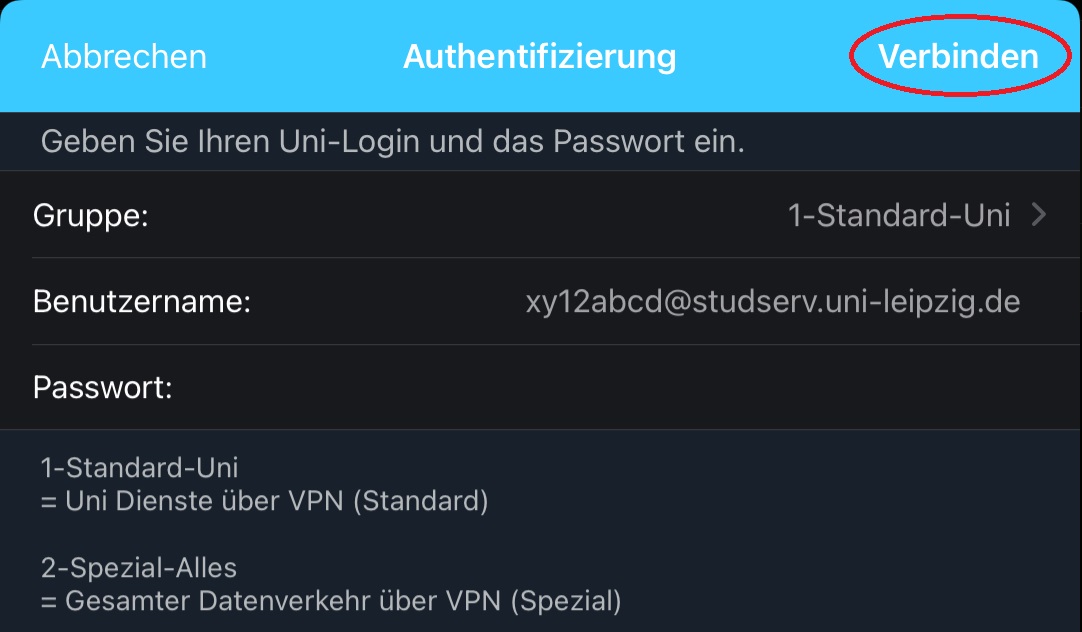
Afterwards, select a profile and authenticate yourself with your personal access data. Depending on your affiliation to Leipzig University, please enter your user name as follows.
- For students of Leipzig University: <Uni-Login>@studserv.uni-leipzig.de (e.g. xy12abcd@studserv.uni-leipzig.de)
- For employees of Leipzig University: <Uni-Login>@uni-leipzig.de (e.g. xy12abcd@uni-leipzig.de)
By entering the corresponding password and clicking the “Connect” button, you can now establish a connection to the VPN tunnel.