Under Linux, you have the choice between the original proprietary AnyConnect client from Cisco or the free implementation OpenConnect. In this example we use Ubuntu 20.04.
We recommend access via OpenConnect, as this is usually better integrated into the distributions and can be operated via the Network Manager, for example.
The following instructions were created under Ubuntu 20.04 LTS and should work for similar current distributions. If not, please scroll down to the older instructions below.
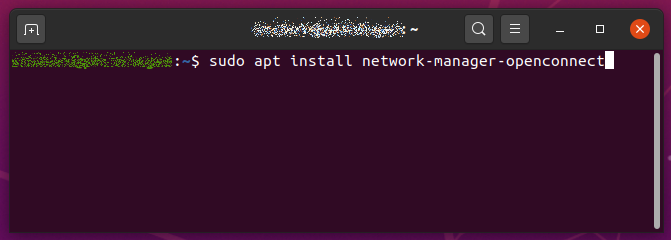
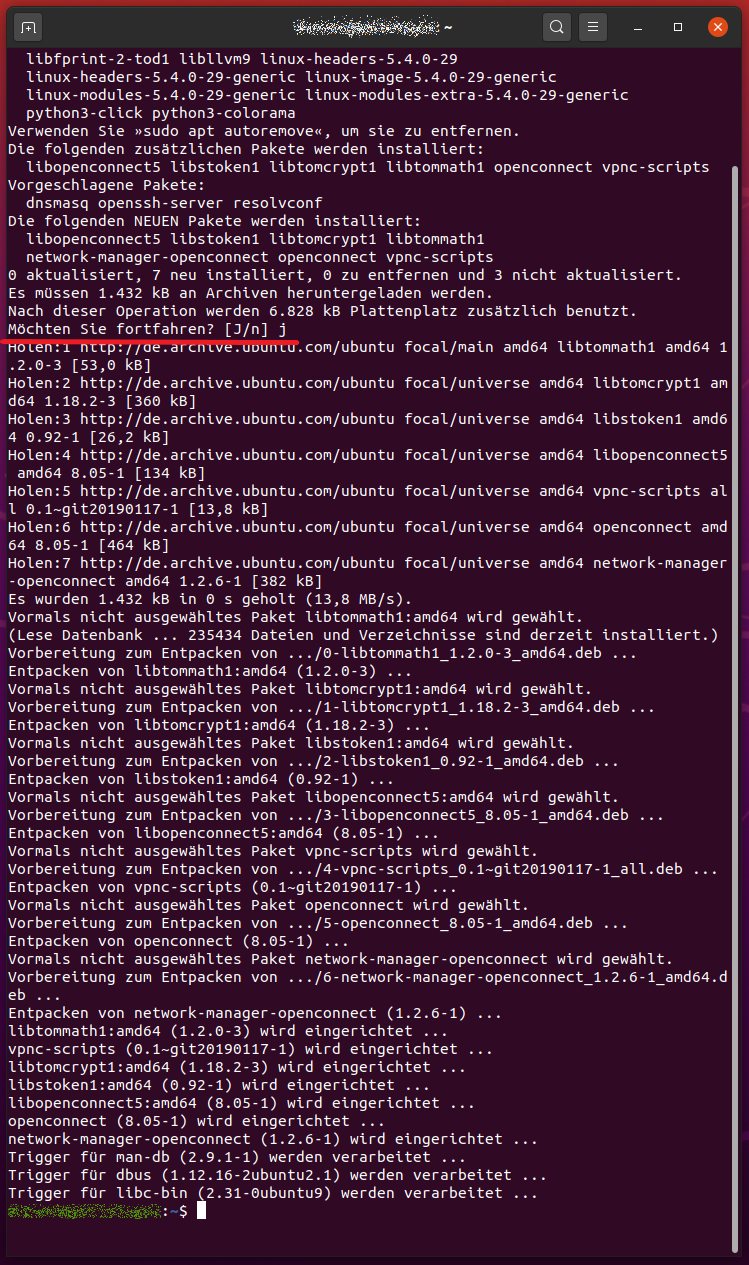
First, install the network-manager-openconnect via the terminal.
sudo apt install network-manager-openconnect
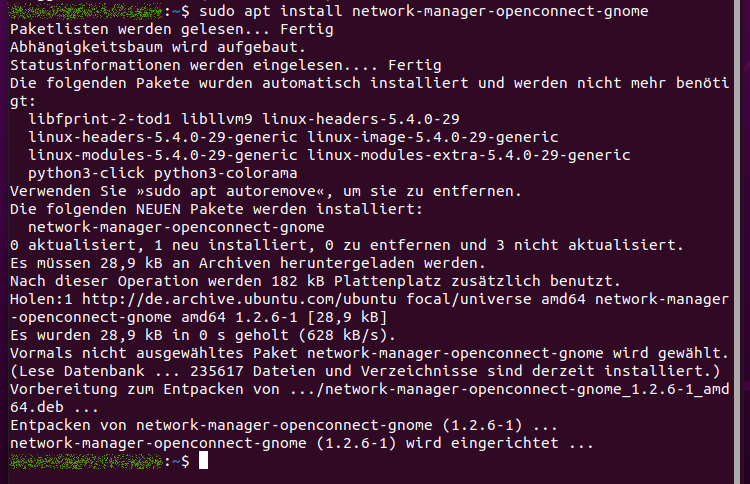
Then install the network-manager-openconnect-gnome.
sudo apt install network-manager-openconnect-gnome
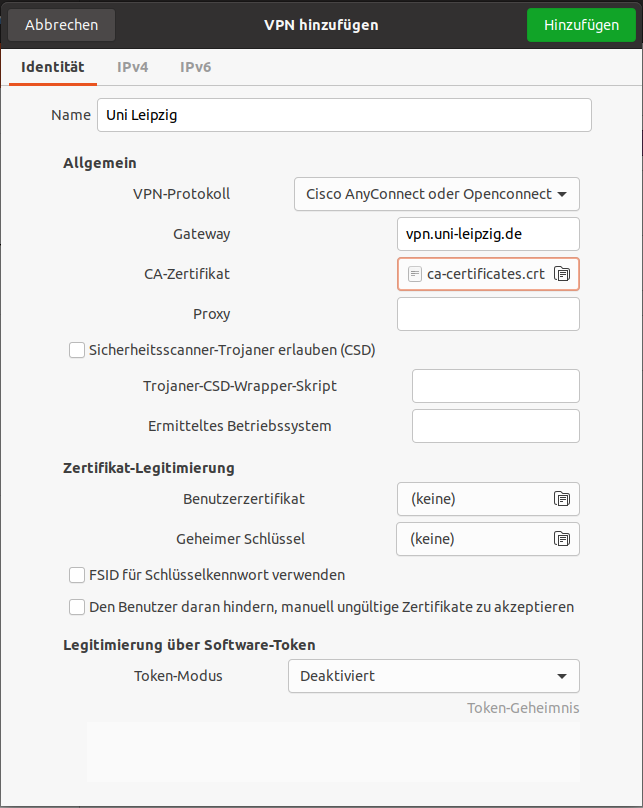
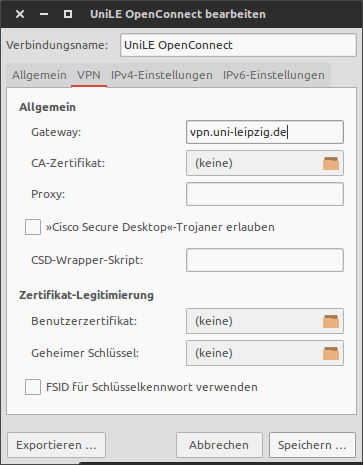
You can choose any name you like, but it makes sense to enter Uni Leipzig here.
Enter vpn.uni-leipzig.de for the gateway.
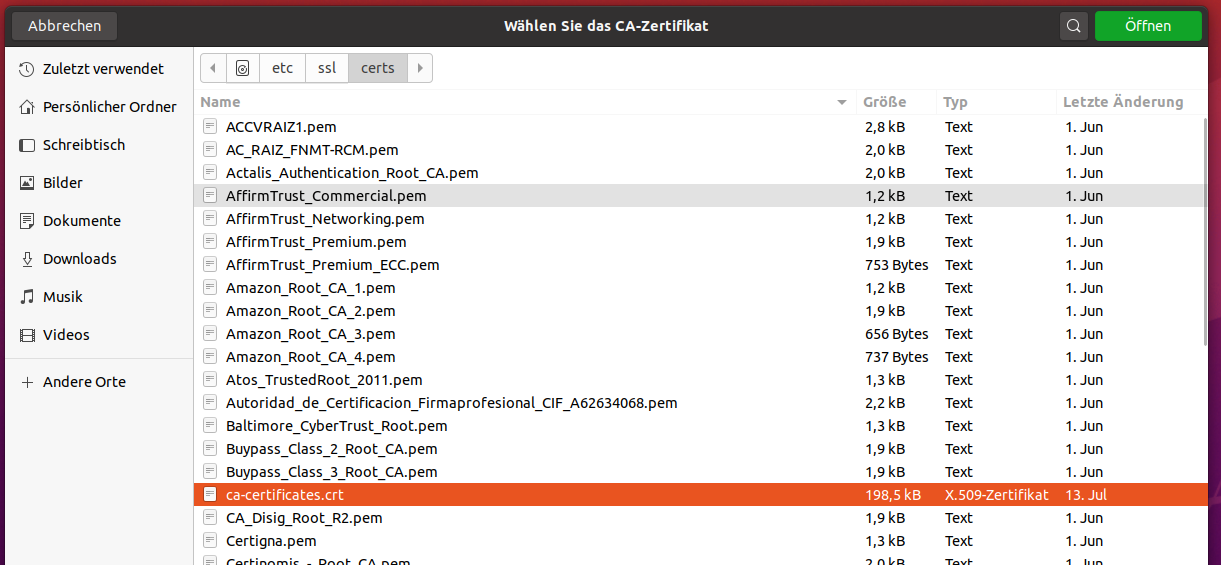
For the certificate, please select “USERTrust_RSA_Certification_Authority.pem”. You can find this under Other locations - etc - ssl - certs. (In the screenshots, the file name “ca-certificates.crt” is used as an example).
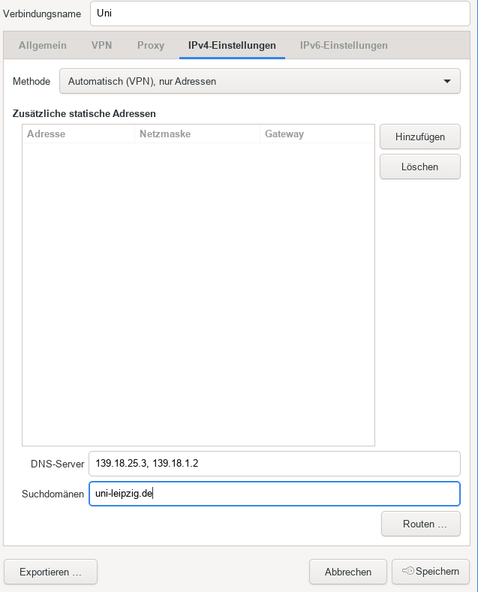
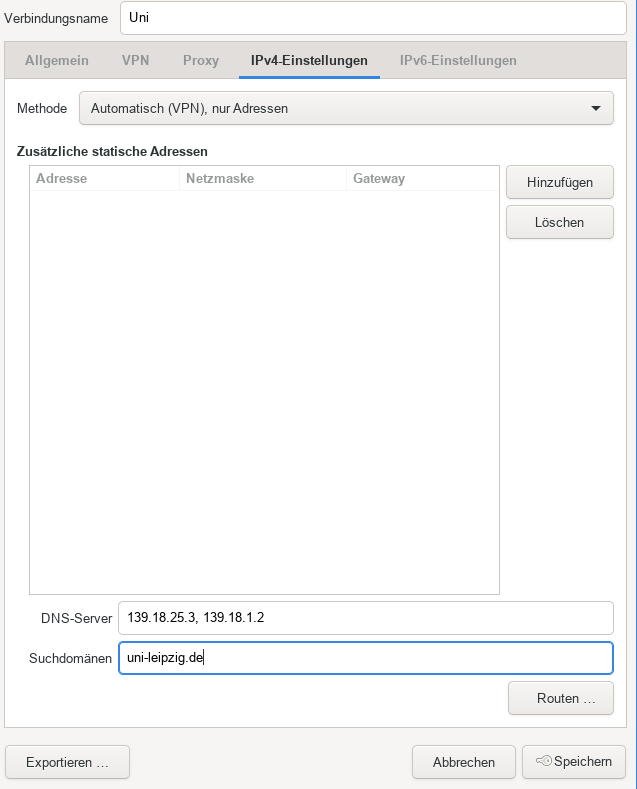
In the “IPv4” tab, please adjust the DNS settings:
DNS server: 139.18.25.3, 139.18.1.2
Search domain: uni-leipzig.de
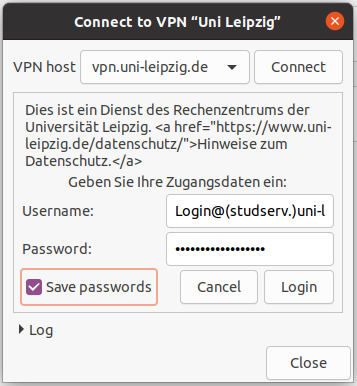
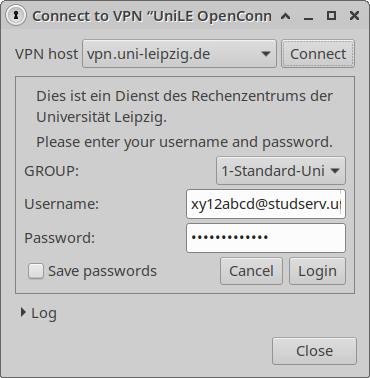
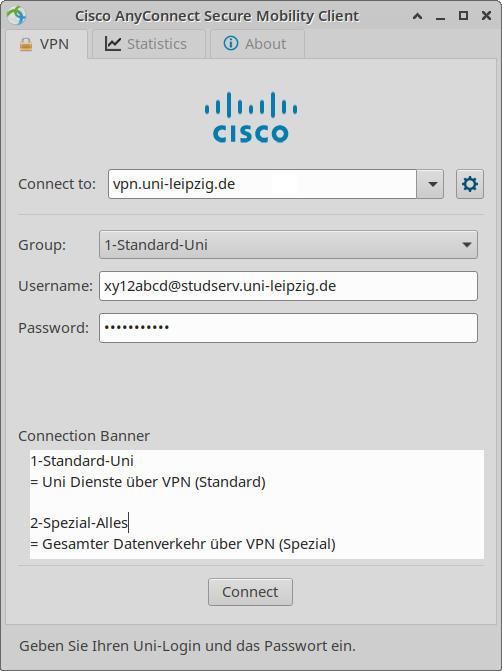
Please enter your user data (@studserv.uni-leipzig.de, @uni-leipzig.de, @medizin.uni-leipzig.de) under Username.
The university login has the pattern ab12cdef. Complete it would be, for example, ab12cdef@studserv.uni-leipzig.de.

- Install the package network-manager-openconnect via terminal or via the Ubuntu Software Centre (see also here).
- under Ubuntu 18.04 LTS you need the Gnome package for the setup in the GUI of the NetworkManager: network-manager-openconnect-gnome (which installs the normal openconnect package as a dependency)
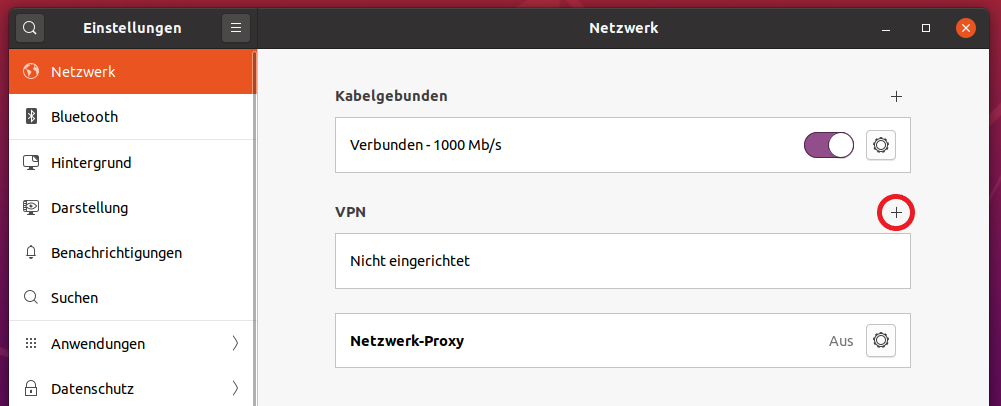
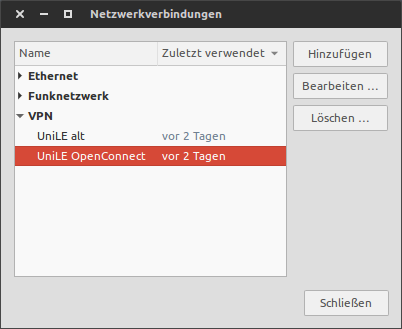
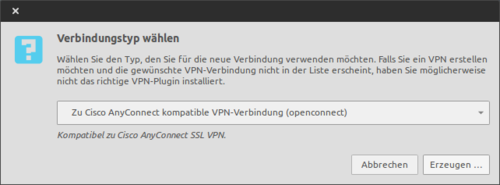
- Create a new VPN connection in the NetworkManager by clicking on Add.
In the “IPv4” tab, please adjust the DNS settings:
DNS server: 139.18.25.3, 139.18.1.2
Search domain: uni-leipzig.de
You can download the Cisco AnyConnect client in the current version 4.10 ((or the older 32-bit version) from our service portal. To do this, you may first need to log in with a user name and password. Use your university login (e.g. ab12cdef) and the corresponding password as your user name.
In a terminal, change to the directory and unpack the tag.gz archive you just downloaded. Please note that the file name depends on the current version!
-
tar -xf anyconnect-linux64-4.9.06037-predeploy-k9.tar.gz
Then change to the unpacked folder and subfolder “vpn”.
-
cd anyconnect-linux64-4.9.06037/vpn/
Make the installation file executable with chmod +x
-
chmod +x vpn_install.sh
Start the installation of the client with root rights. Confirm the query with “y”.
-
sudo ./vpn_install.sh
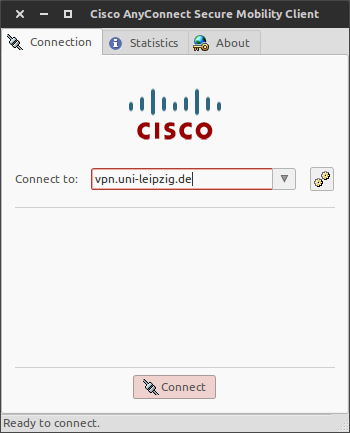
Now start the client.

The instructions described above do not work correctly on some computers due to an error in a required utility programme. In this case, please use the call in the terminal (command line):
sudo openconnect\ --verbose \ --protocol=anyconnect \ --user=[uni-login]@[studserv.]uni-leipzig.de \ --passwd-on-stdin \ --authgroup=1-Standard-Uni \ --resolve=uni-leipzig.de:139.18.25.3,139.18.1.2 \ --server vpn.uni-leipzig.de
Replace ‘uni-Login’ with your Uni-Login and adjust the domain suffix accordingly. Please use your regular Uni-Login password. The programme continues to run in the terminal and remains in the foreground; the terminal must remain open. CTRL-C terminates the process and the VPN connection.