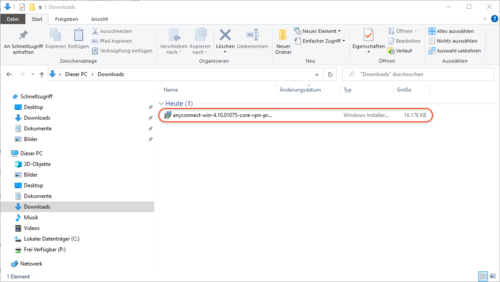
The following instructions explain how to install the AnyConnect Client for Microsoft operating systems. Currently, Microsoft Windows 10 and Microsoft Windows 11 are supported in both 32- and 64-bit versions.
VPN access with the Cisco AnyConnect Client
-
Compatibility: MS Windows 11 (These instructions were created on the basis of MS Windows 10 and may differ from other Windows versions in some places).


After you have successfully installed the Cisco AnyConnect Client, open it.
After opening the programme, you should land on the following view. In the “VPN” cell, “vpn.uni-leipzig.de” must be entered for the connection to the VPN tunnel.
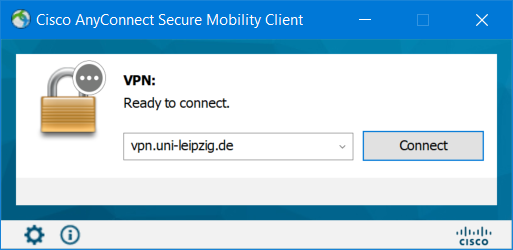
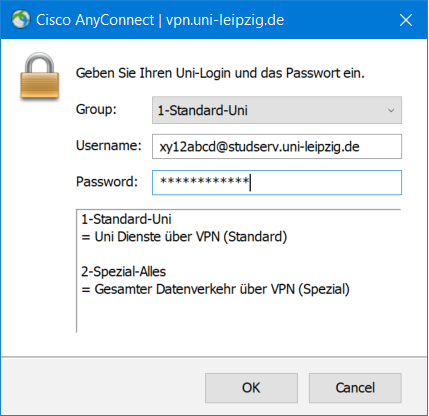
Select “Connect” to establish the connection. The client then asks you for your personal access data and the profile (Group).
Afterwards, select a profile and authenticate yourself with your personal access data. Depending on your affiliation to Leipzig University, the user name has to be entered as follows.
- For students of Leipzig University : <Uni-Login>@studserv.uni-leipzig.de (e.g. xy12abcd@studserv.uni-leipzig.de)
- For employees of Leipzig University : <Uni-Login>@uni-leipzig.de (e.g. xy12abcd@uni-leipzig.de)
Select "OK" to establish the connection to the VPN tunnel.